Roof Types
How to identify what you have, what goes wrong with it, and what we spec.
EPDM Rubber
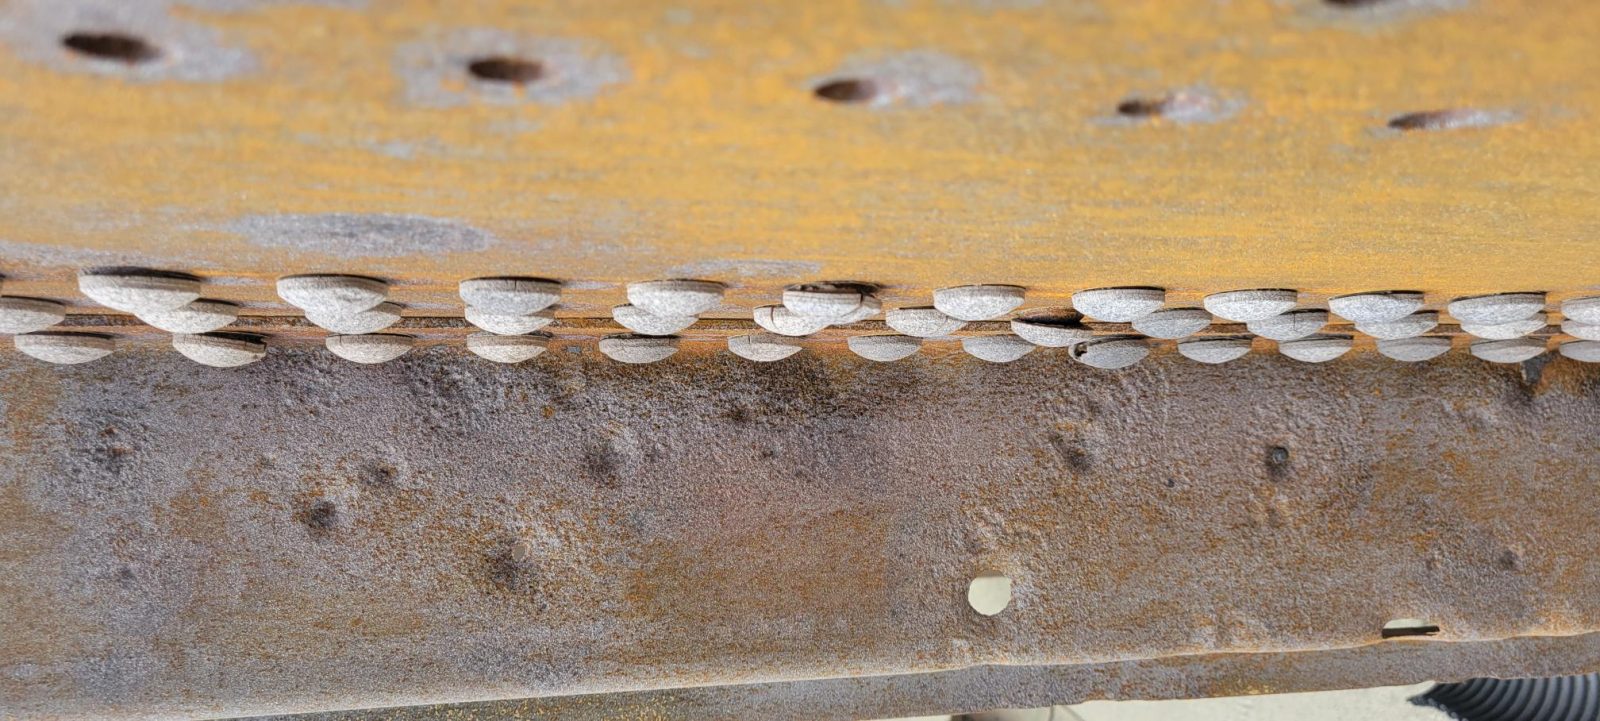
Identify it: Black or dark gray, slightly soft, chalks white on your finger. White streaks running down the sidewalls after rain are the giveaway.
What fails: The sheet is roughly 45 mil when installed and it thins as plasticizer migrates out. It hardens, loses flexibility, and eventually cracks at stress points. Meanwhile it is glued to the deck, and that adhesive fails locally, producing the bubbles and lifted areas owners find at year ten.
What people get wrong: Coating over the chalk. It is the single most common cause of RV roof coating failure and it is entirely a prep problem, not a product problem.
Spec: Super Orange Cleaner twice with rinse and a water-sheet verification, 7001 Primer across the field plus a second pass at details, Alasta Seal 40–60 mil field / 80 mil flanges and terminations.
TPO Membrane
Identify it: Bright white, firm, slick to the touch, no chalking. Seams are heat-welded rather than glued. Standard on most towables built in the last decade.
What fails: The membrane itself holds up better than EPDM, so the failures concentrate almost entirely at the details — flange sealant, the termination bar at the perimeter, and mechanical damage. TPO is also less forgiving of a puncture because it is stiffer and tears propagate.
What people get wrong: Skipping primer because the roof looks clean. TPO is a low-surface-energy thermoplastic — it is designed to be non-stick. A coating applied directly to clean TPO has essentially nothing to bond to.
Spec: Single thorough Super Orange Cleaner wash, mandatory 7001 Primer across the full deck, Alasta Seal 40–60 mil field / 80 mil at flanges, terminations, and any welded seam being covered.
One-Piece Fiberglass
Identify it: Hard, glossy, and continuous — no seams anywhere in the field. Common on higher-end coaches and fifth wheels, and marketed as the premium option.
What fails: Not the membrane. Fiberglass roofs fail at the perimeter, at the cap transitions, and around penetrations, and they develop gelcoat crazing and spider cracking with age and UV. Because the roof is rigid, any deck movement concentrates stress at the transitions rather than distributing it.
What people get wrong: Assuming it does not need anything. A fiberglass roof still has a screwed-through flange at every vent and a sealant bead around it with the same three-to-five year life as any other roof.
Spec: Scuff gloss, clean twice for mold-release wax, 7001 Primer, Alasta Seal 40 mil field / 80 mil at flanges and cap transitions. Crazed gelcoat areas get a heavier build.
Aluminum & Previously Coated Roofs
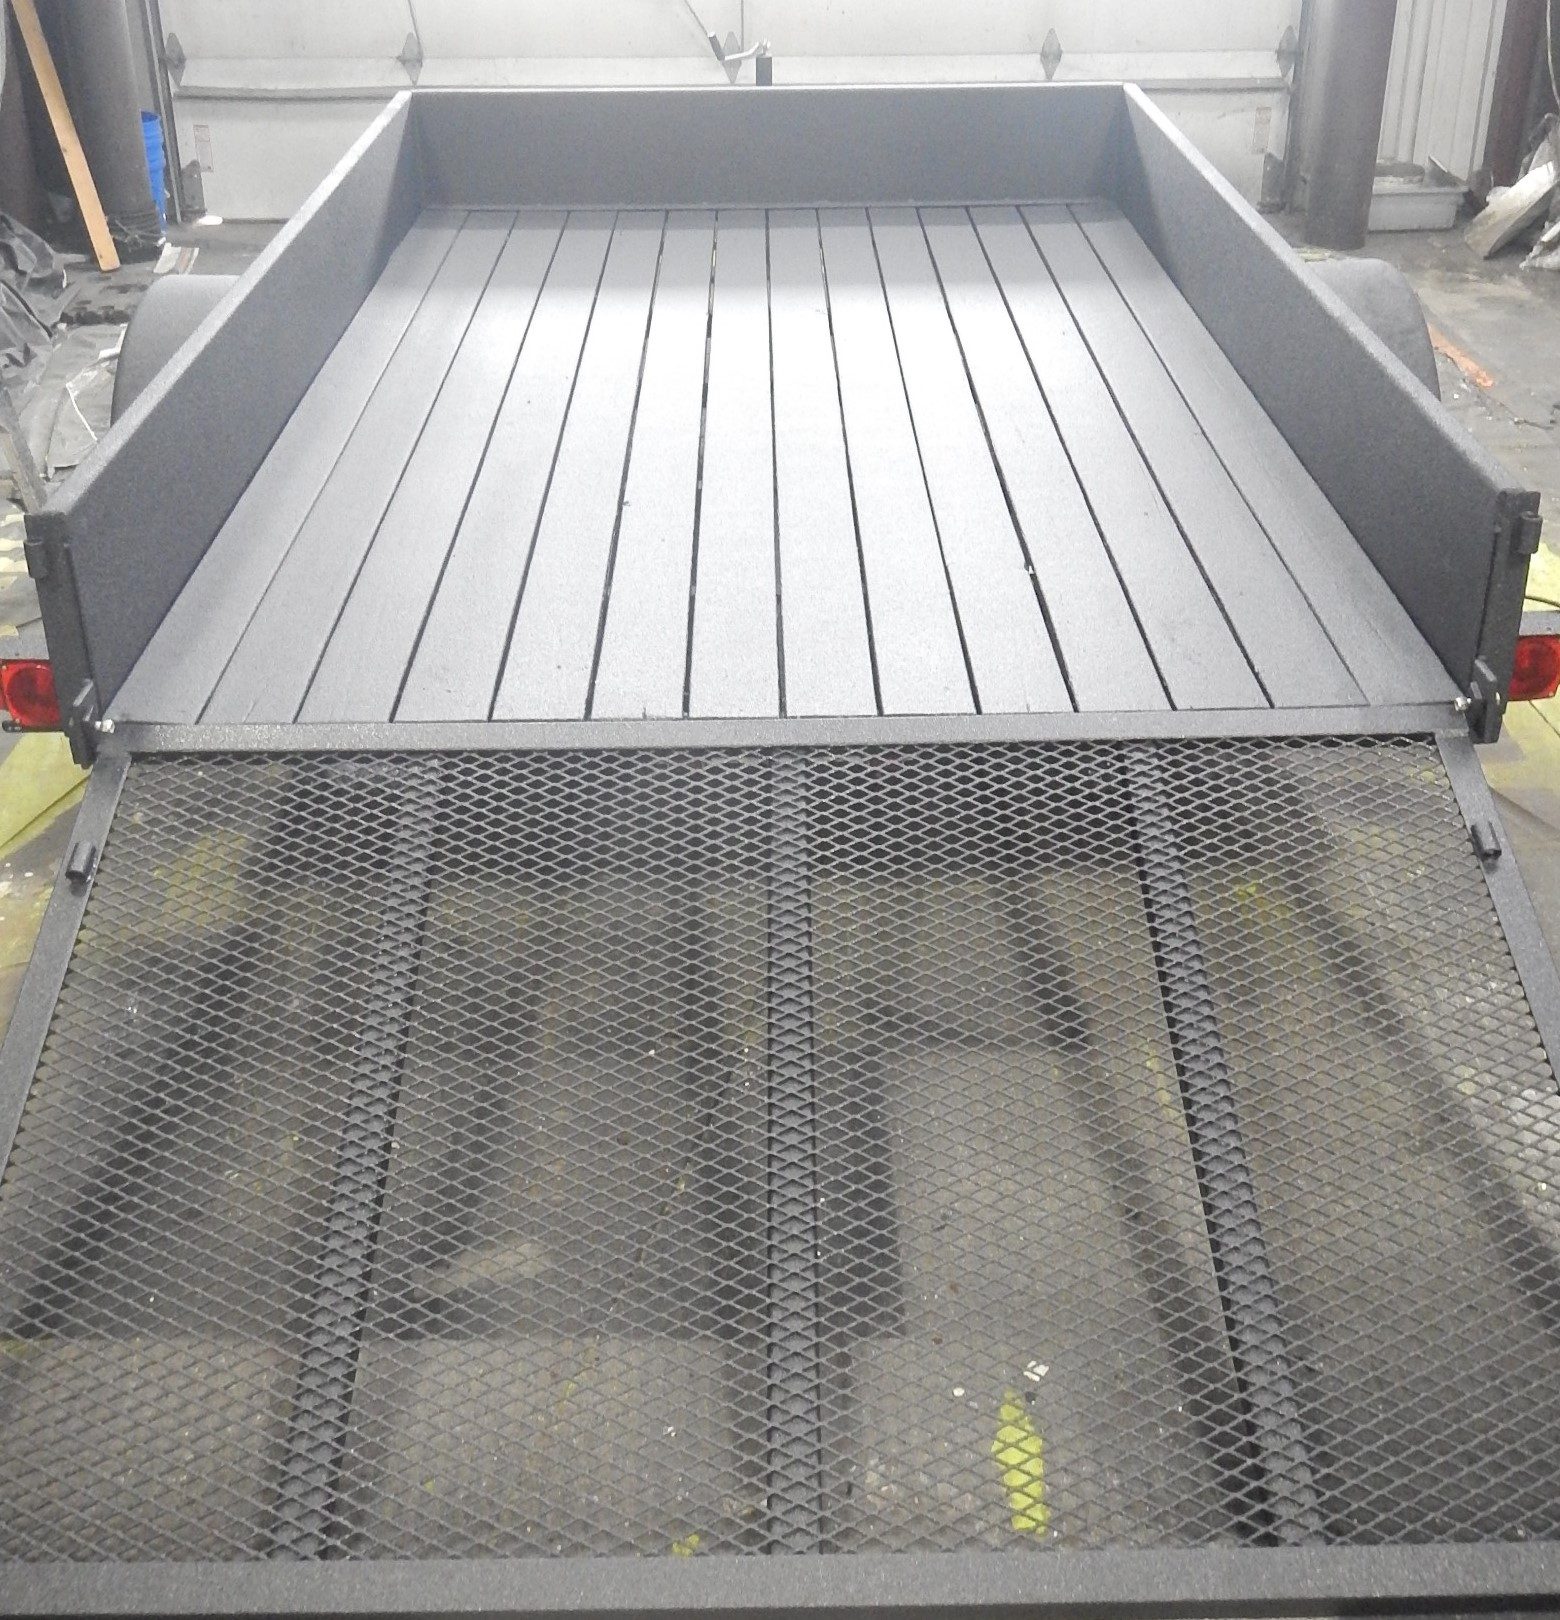
Aluminum. Ribbed or flat riveted panel on older units and many truck campers. It does not rot, but every rivet is a hole, panel laps run the length of the roof, and dissimilar-metal corrosion develops under fastener heads where you cannot see it. Degrease, scuff the oxide, prime, and detail the rivet lines heavier than the field.
Previously coated. The most common thing we get asked about. Run the test before you plan anything: work a putty knife under an edge and pull hard. Soundly bonded product can be cleaned, scuffed, and primed over. Anything that lifts in sheets has to be fully removed — and silicone-based RV roof coatings in particular are frequently not overcoatable at all.
Spec: Aluminum — 7001 over scuffed, degreased panel, Alasta Seal 40–60 mil field with 80 mil at rivet lines, laps, and terminations. Previously coated — same spec if the adhesion test passes, full removal if it does not.
Roof Details — Common to Every Type
- Roof vent and fan flanges — the highest-frequency leak source on any RV roof, regardless of membrane
- AC shroud perimeter — the gasket is a separate repair; the deck around it still gets sealed
- Skylight and hatch curbs — seal to the curb, never to the plastic dome
- Refrigerator and furnace roof vents — same flange failure mode, rarely inspected
- Front and rear cap transitions — moving joint between dissimilar materials, top-three leak source
- Termination bar and drip rail — where the factory sheet stops; the membrane wraps over instead
- Solar mounting feet — the most common recently-drilled penetration on any coach
- Antenna, satellite, and ladder mounts — plus every abandoned hole left by a relocated one
Send a Photo of Your Roof
We can usually identify the membrane and flag the details worth worrying about from a couple of pictures and the roof dimensions.
Get a Roof AssessmentGet a Roof Assessment
Tell us about your project and we will follow up with product details, technical data sheets, and pricing.